
Post Update Activities: 2024.1.8
Situation
You’re upgrading from an earlier version of PPM Process Package to a newer release. Manual steps for migration are necessary.
Solution
The following steps are necessary, if you implemented your own BRF+ customizing App.
If you have not created your own BRF+ application according to Creation of Customer BRF+ Application, this can be ignored.
Following BRF+ Decision Tables have been modified and need to be adjusted:
| Name | Technical Name |
| Bucket Groups | BUCKET_GROUP |
| Creation Graphical Step Choices | CREATION_GRAPHICAL_STEP_CHOICE |
| Creation Result Item Types | CREATION_RESULT_ITEM_TYPES |
| Creation Result Buckets | CREATION_RESULT_BUCKETS |
| Creation Result Datasets | CREATION_RESULT_DATASETS |
| Fieldgroup Control | FIELDGROUP_CONTROL |
| Form Control Checklist | FORM_CONTROL_CHECKLIST |
| Form Control Checklist Item | FORM_CONTROL_CHECKLIST_ITEM |
| Form Control Creation Step | FORM_CONTROL_CREATION_STEP |
| Form Control Decision Point | FORM_CONTROL_DECISION_POINT |
| Form Control Item | FORM_CONTROL_ITEM |
| Form Control Phase | FORM_CONTROL_PHASE |
| Form Control Project | FORM_CONTROL_PROJECT |
| Form Control Role | FORM_CONTROL_ROLE |
| Form Control Task | FORM_CONTROL_TASK |
| Item Type Groups | ITEM_TYPE_GROUP |
| Section Control | SECTION_CONTROL |
Repeat following steps for each of these decision tables.
Special remark:
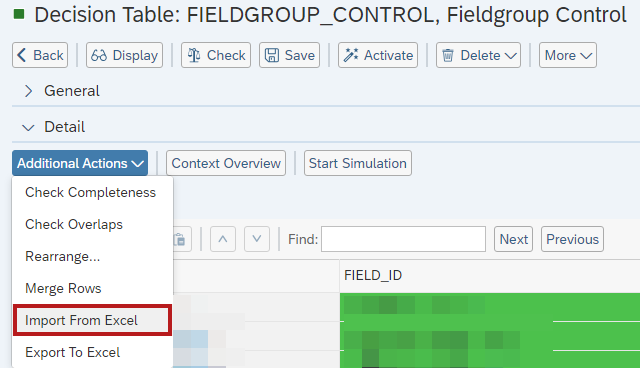
The column order of the output columns of decision table “FIELDGROUP_CONTROL” changed. Please be especially cautious here. Further information are mentioned in Step 2.
1. Export of Decision Table
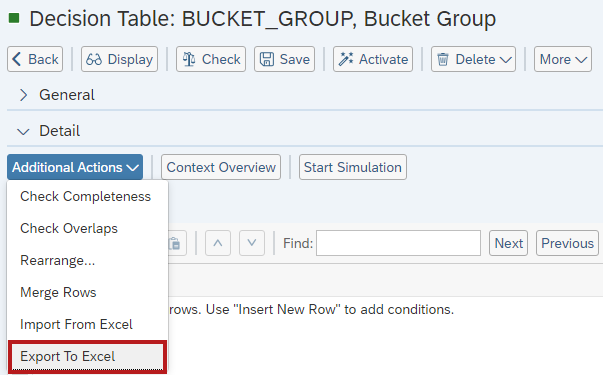
Navigate to the decision tables from the list and click “Export To Excel”. We can skip this step in case the decision table is completely empty.
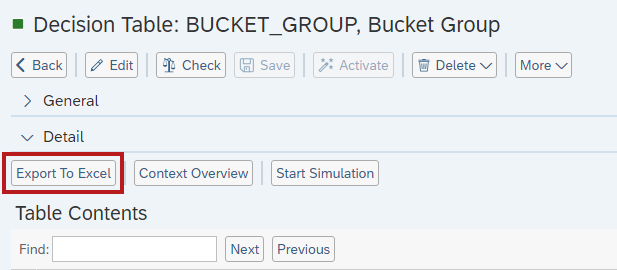 Keep this excel sheet for later use.
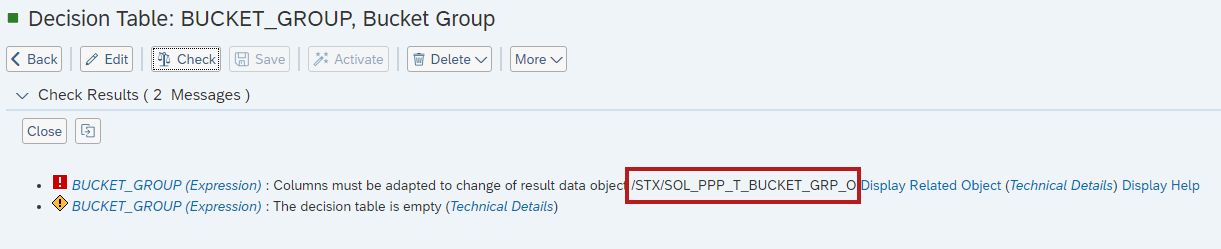
2. Adjustment of decision table result data object
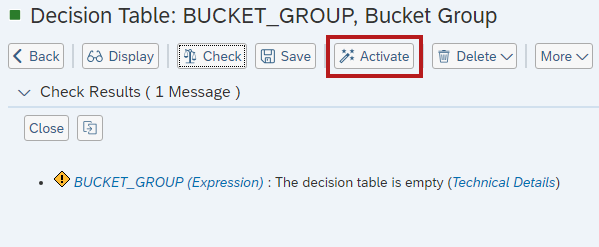
- First, click on the “Check” button.
- From the given error message, copy the name of the result data object into your clipboard (CTRL+C):
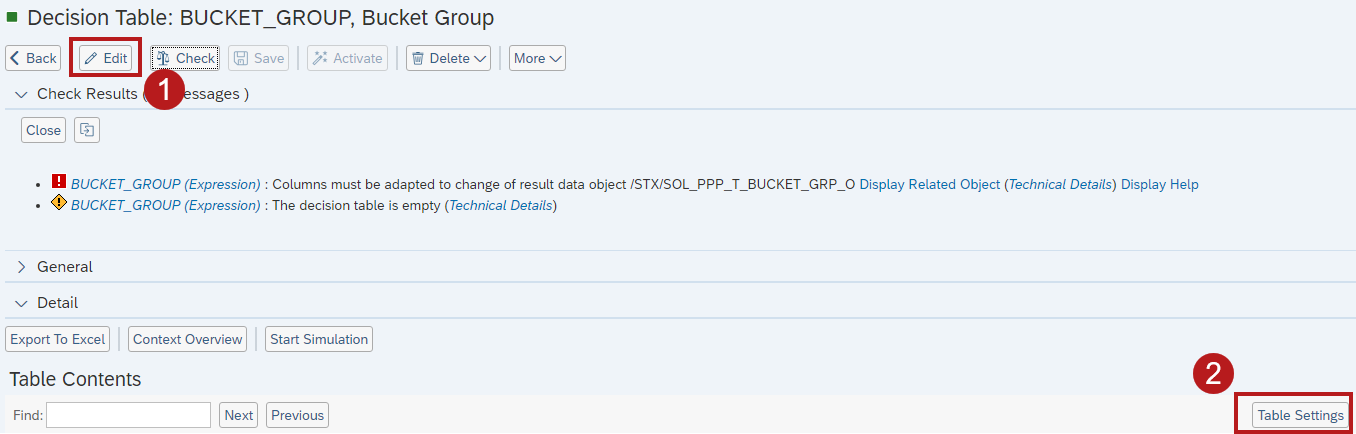
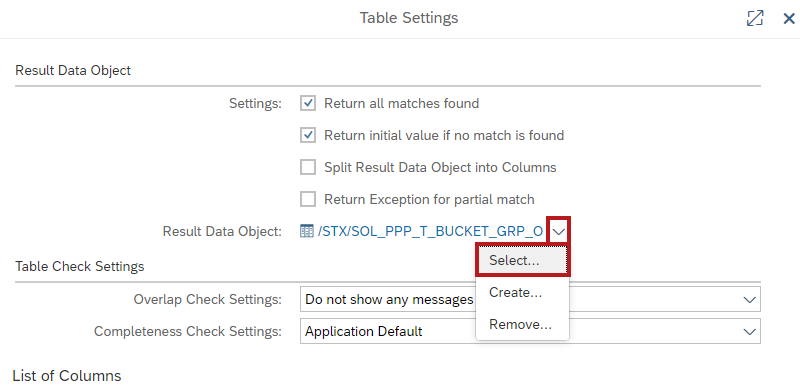
- Go into edit mode and open the table settings:
- Keep track of the marked settings, column order and “mandatory input” flags. You might need to restore these settings after adjustment. Best would be to take a screenshot or write them down to ensure they are can be restored afterwards.
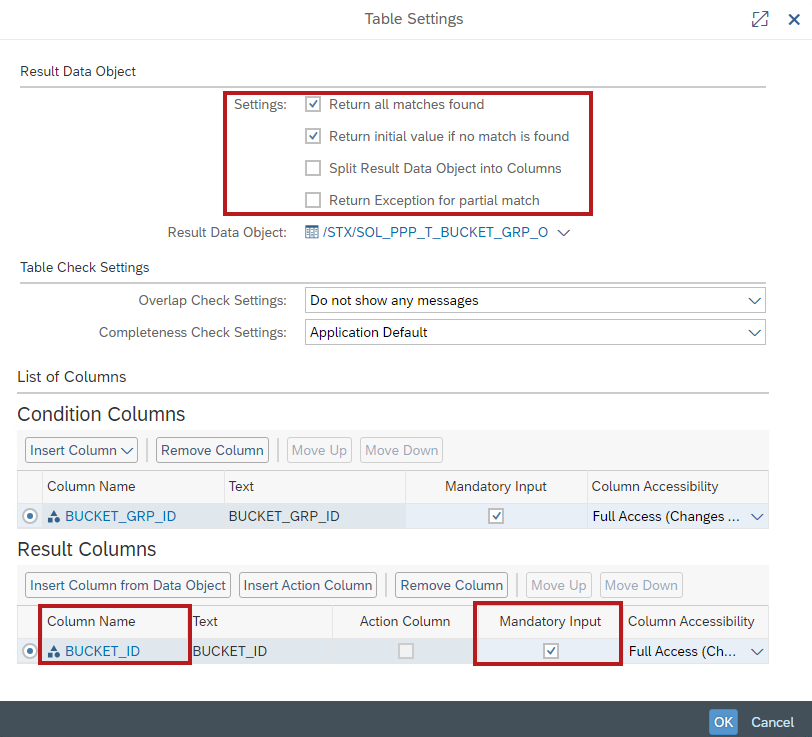
- Click on the dropdown on the right side of the result data object and click on “Select…”
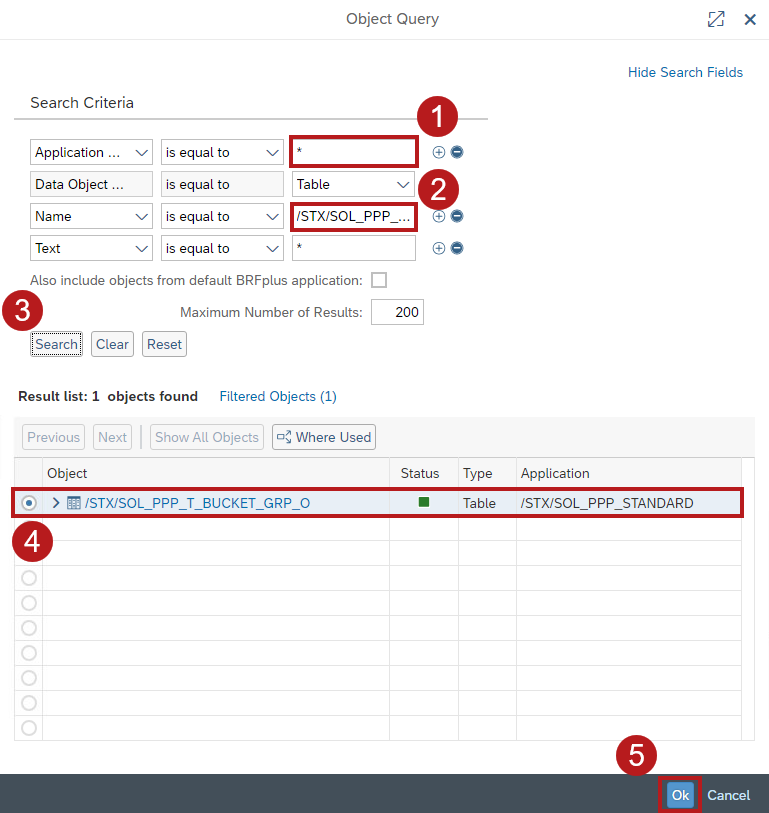
- Enter “*” into the Application Name search criteria. Paste the previously copied result data object name from the error message into the “Name” criteria. Hit “Search”. There should only be one result. Mark the entry and click on “Ok”
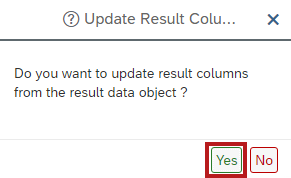
- Confirm the following dialog with “Yes”
- The table settings and columns have now been adjusted. The Checkbox “Split Result Data Object into Columns” should be true even though it might’ve been false before the adjustment**.**
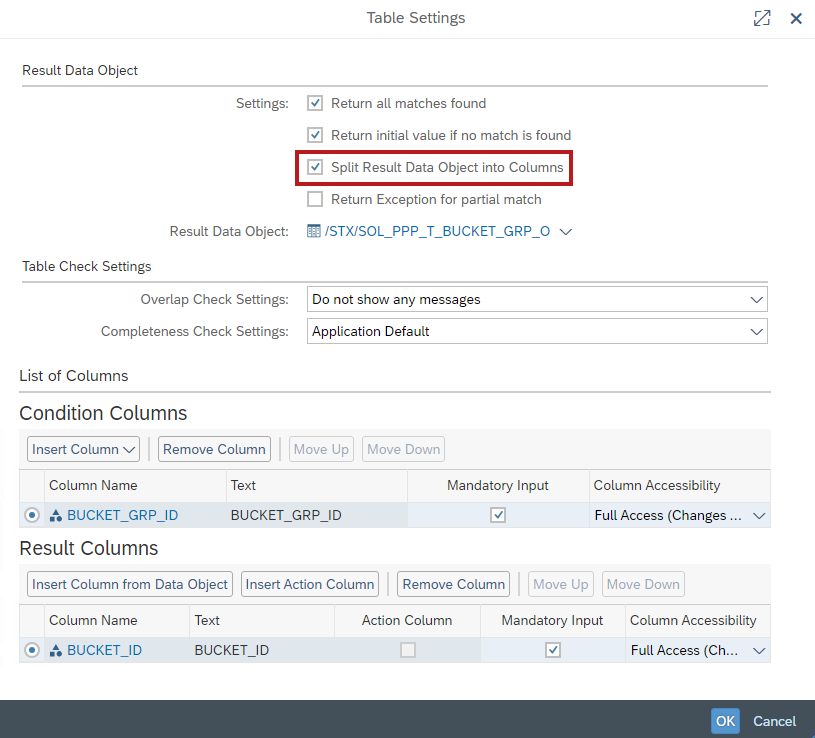
- Restore any other settings, different column orders or mandatory input flags that might’ve been changed by the adjustment and hit “Ok” after you’re done.
- If the decision table was empty, you can click “Activate” and continue with the next decision table.
3. Import of lost output data
Since we adjusted the output columns with the previous step, we need to import the data of these columns again. In case you skipped step 1 because the table is empty, you can also skip this step.
- After the adjustment in step 2, click on “Export To Excel” again.
- Open both exported Excel Sheets. Mark the area of the data in the output columns and copy it to the empty area of the new excel sheet.

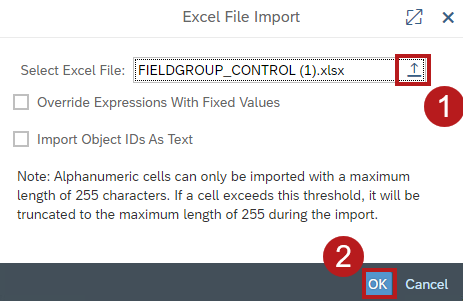
- Save the updated new excel sheet (in the previous screenshot left). Import it into the adjusted decision table.
- The data should now be restored and you can activate the decision table.